Although getting your nails done professionally might be pricey, applying your own gel nails at home will give you salon-quality results. You can produce a long-lasting, glossy manicure in the comfort of your own home with the correct equipment and methods. Here are the instructions for applying gel nails yourself at home.
Step 1: Ensure That You have the Right Supplies
Ensure that you have everything you need so you don`t miss a step. Things to get:
UV or LED light for gel nail polish
Topcoat Base Coat Nail File
Cuticle pusher
Alcoholic wipes
Cotton balls
Nail polish remover
Gelish
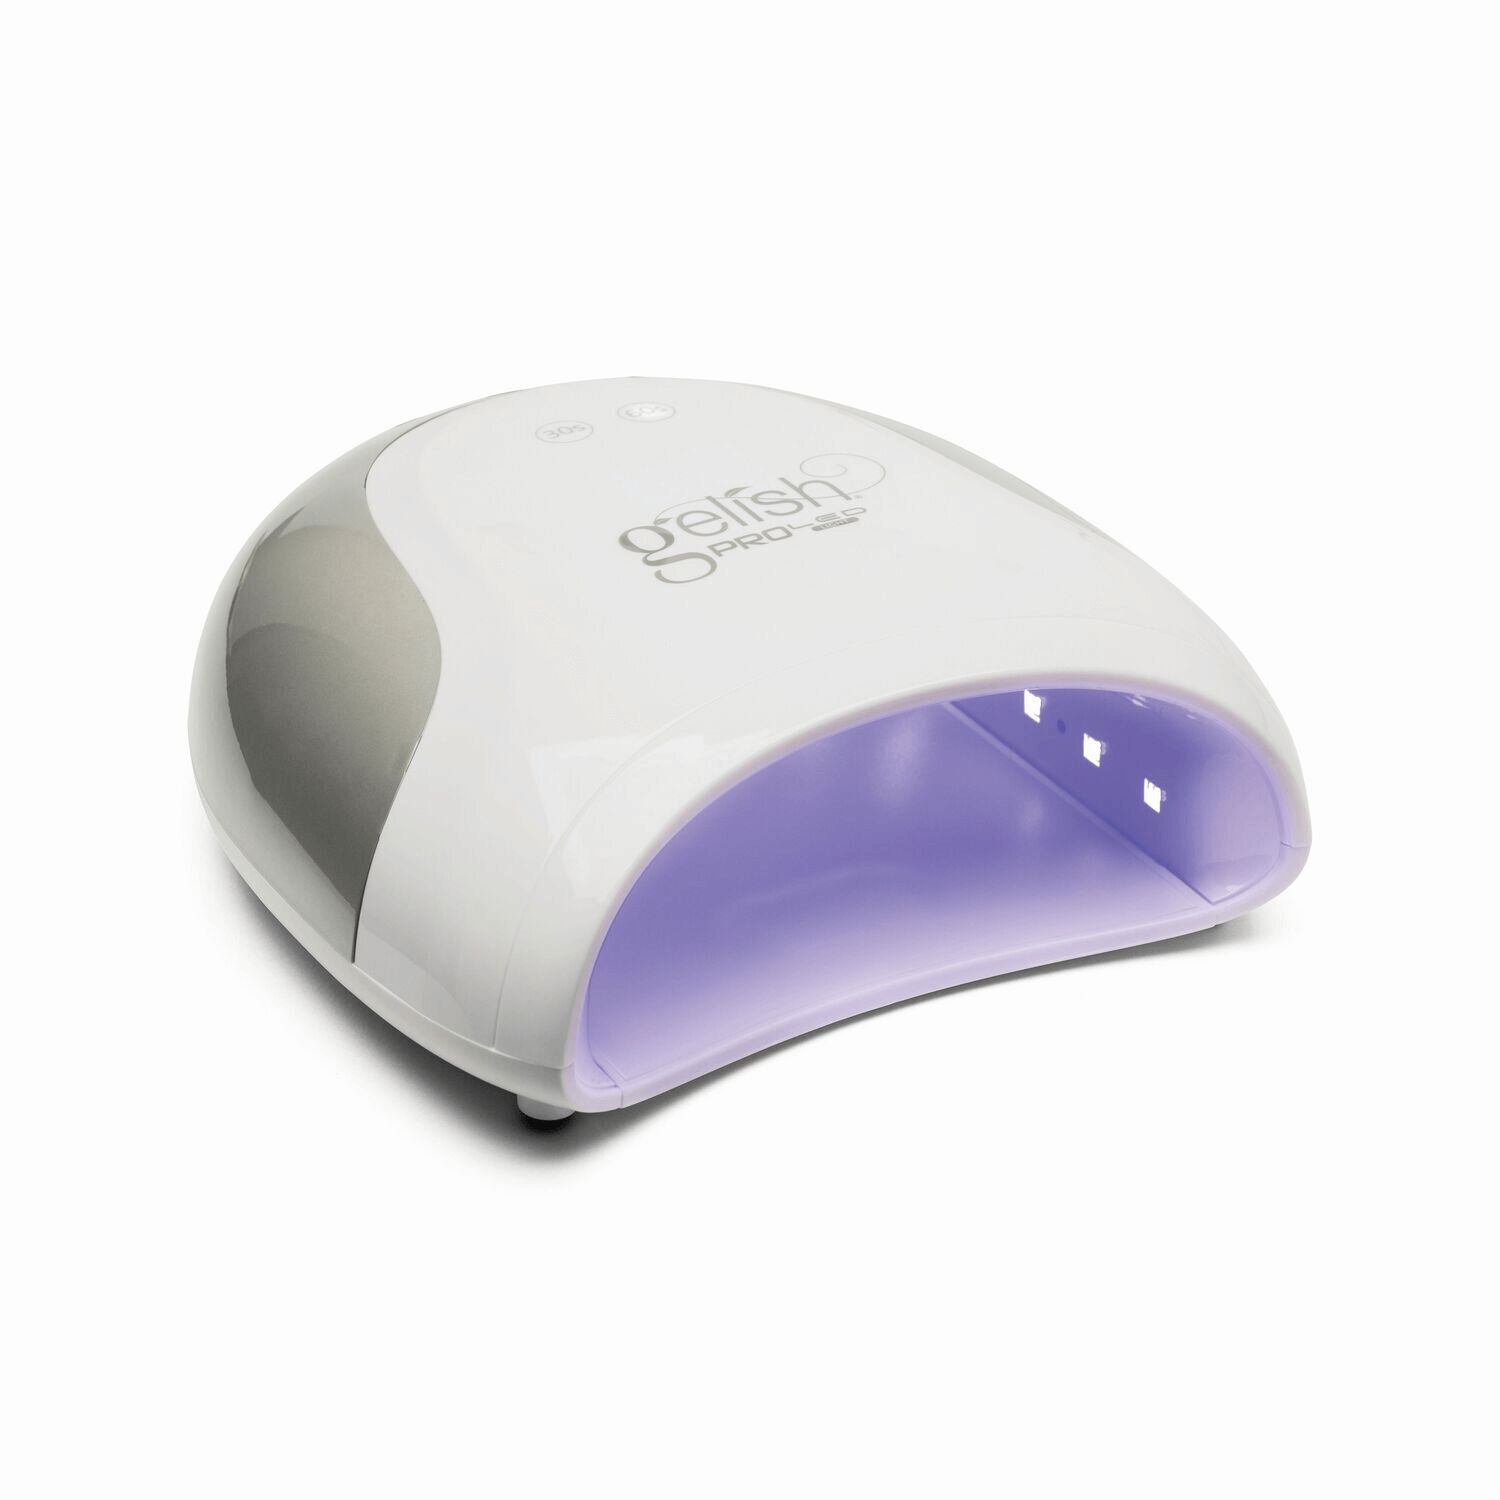
Get a reliable gel light to ensure that your nails will be baked well. This is especially important for well-made nails because if your nails are not baked, they will cake up and be more difficult to dry.
Also, if you`re sharing tools with friends or family, always sanitize them before and after using them to avoid getting or sharing bacteria.
Step 2: Prep Your Nails
Remove any previous nail paint before shaping your nails to your preferred form. To push back your cuticles, use a cuticle pusher; do not cut them, however, as this may result in an infection.
Here is some advice for prepping nails before applying DIY gel polish at home: begin with clean nails, remove any existing polish, file them into the desired shape, push back the cuticles, lightly buff the nails, and fully wash and dry the hands. For the gel polish to adhere effectively and last longer, the surface must be smooth and clean. To get rid of any oils or residue, clean your nails with alcohol wipes.
Step 3: Apply the Base Coat
Each nail should have a thin coat of base coat applied before curing it for the necessary amount of time, often between 30 and 1 minute, under a UV or LED lamp.
Some women skip this step however this is essential so that the color of nail polish will look smooth, and avoid bubbles.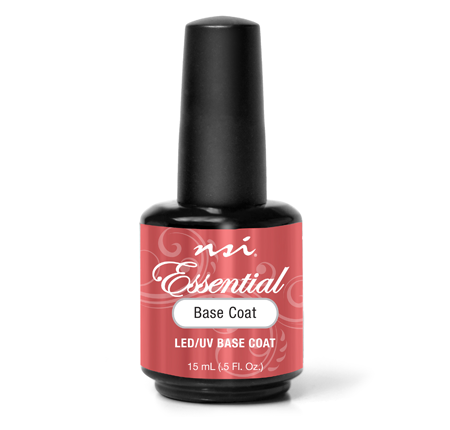
Step 4: Apply the Gel Polish
Apply the color nail polish on each nail with a thin coat. Then, cure it for a minute or more. If the nails are lacking color, you may add more coats but cure it each time. If more than one coat is desired, repeat this procedure until you achieve your desired vibrancy of color.
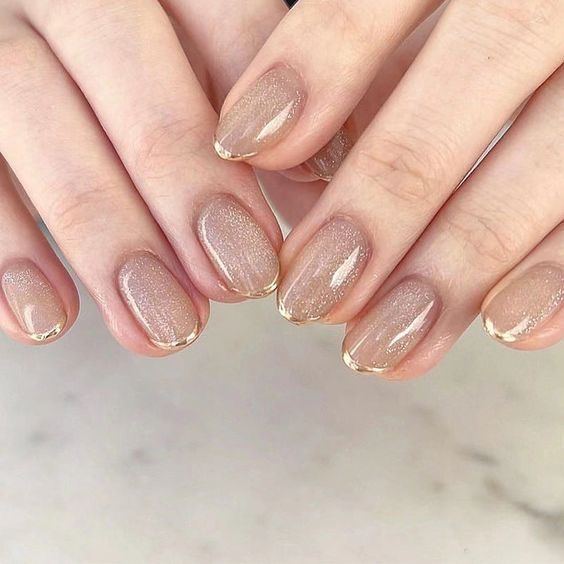
You can also add nail decals, stickers, or gemstones if you want to add a little bling to your nails.
One Step Gel Polish, Matte Top Coat – Going Matte
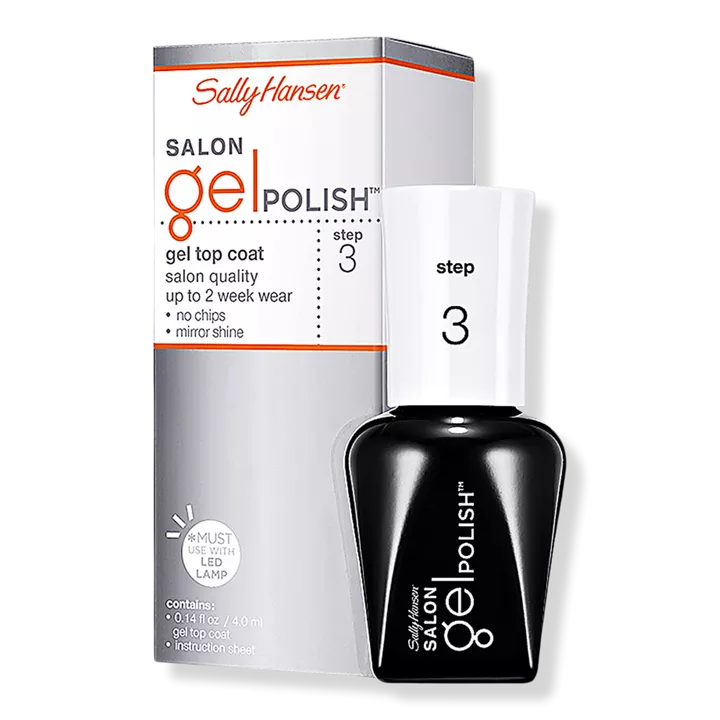
Each nail should have a thin coat of topcoat applied before being cured for the advised amount of time under the light. The polish will be sealed and given a shiny sheen as a result.
Step 5: Remove Sticky Residue and Moisturize your Nails
Your nails can have a sticky film left over after the topcoat has dried. Use an alcohol wipe or a cotton ball dipped in nail polish remover to remove this by cleaning each nail.
To keep your cuticles nourished and healthy, moisturize them with hand lotion or cuticle oil. This way, not only do your nails look glowing, your hands will feel moisturized, inspiring you to work with soft and beautiful hands.
After applying DIY gel nail paint at home, it’s essential that you moisturize and hydrate your nails to keep them looking beautiful. To maintain the cuticles smooth and avoid cracking, apply cuticle oil frequently. When performing domestic tasks, use gloves, and keep your nails away from harmful chemicals. Never pick or peel off the gel polish, and refrain from using your nails as implements. Finally, to protect your nails, make sure the gel polish is properly removed.
That’s all, then! You can apply gel nails yourself at home by following these easy instructions. To prevent smudging or peeling, always take your time and use thin layers. Without ever leaving your home, you can eventually obtain a salon-quality appearance with practice. Not only will you save money, but you would have the ability to do your nails whenever necessary. Enjoy your gorgeous, durable manicure!